Owning a used car doesn’t just save you money off the lot; it can also be a cost-effective choice if you’re willing to roll up your sleeves and handle some maintenance tasks yourself. Whether you’re a seasoned DIYer or a newcomer looking to build your skills, here are several essential DIY repairs and maintenance tips that can help keep your used car in top shape while saving you a trip to the mechanic.
Basic tools and preparation 🛠️
Before you dive into any repair or maintenance work, it’s important to ensure you have the right tools. A basic automotive tool kit should include:
- A set of wrenches (spanners)
- Screwdrivers
- Pliers
- A socket set
- A jack and jack stands
- Torque wrench
- Work gloves and safety goggles
Always consult your car’s owner manual for specific tools and parts you might need for your particular model. It’s also a good idea to keep a first aid kit handy.
Oil change 🛢️
Changing the oil is one of the most crucial maintenance tasks, as it keeps your engine running smoothly and efficiently. Here’s how to do it:
1. Warm up your engine: Run your car for a few minutes to warm up the oil, which helps it drain out more completely.
2. Lift the car: Use the jack to lift the car and secure it on jack stands for safety.
3. Drain the oil: Locate the oil drain plug under the engine and place a drain pan underneath. Remove the plug with a wrench and allow the oil to drain out completely.
4. Replace the oil filter: Unscrew the old oil filter and install a new one. Make sure to lubricate the new filter’s rubber gasket with a bit of new oil.
5. Refill with new oil: Replace the drain plug and fill the engine with new oil using the type specified in your owner’s manual.
6. Check for leaks: Start the engine and let it run for a few minutes. Check under the car for any oil leaks.
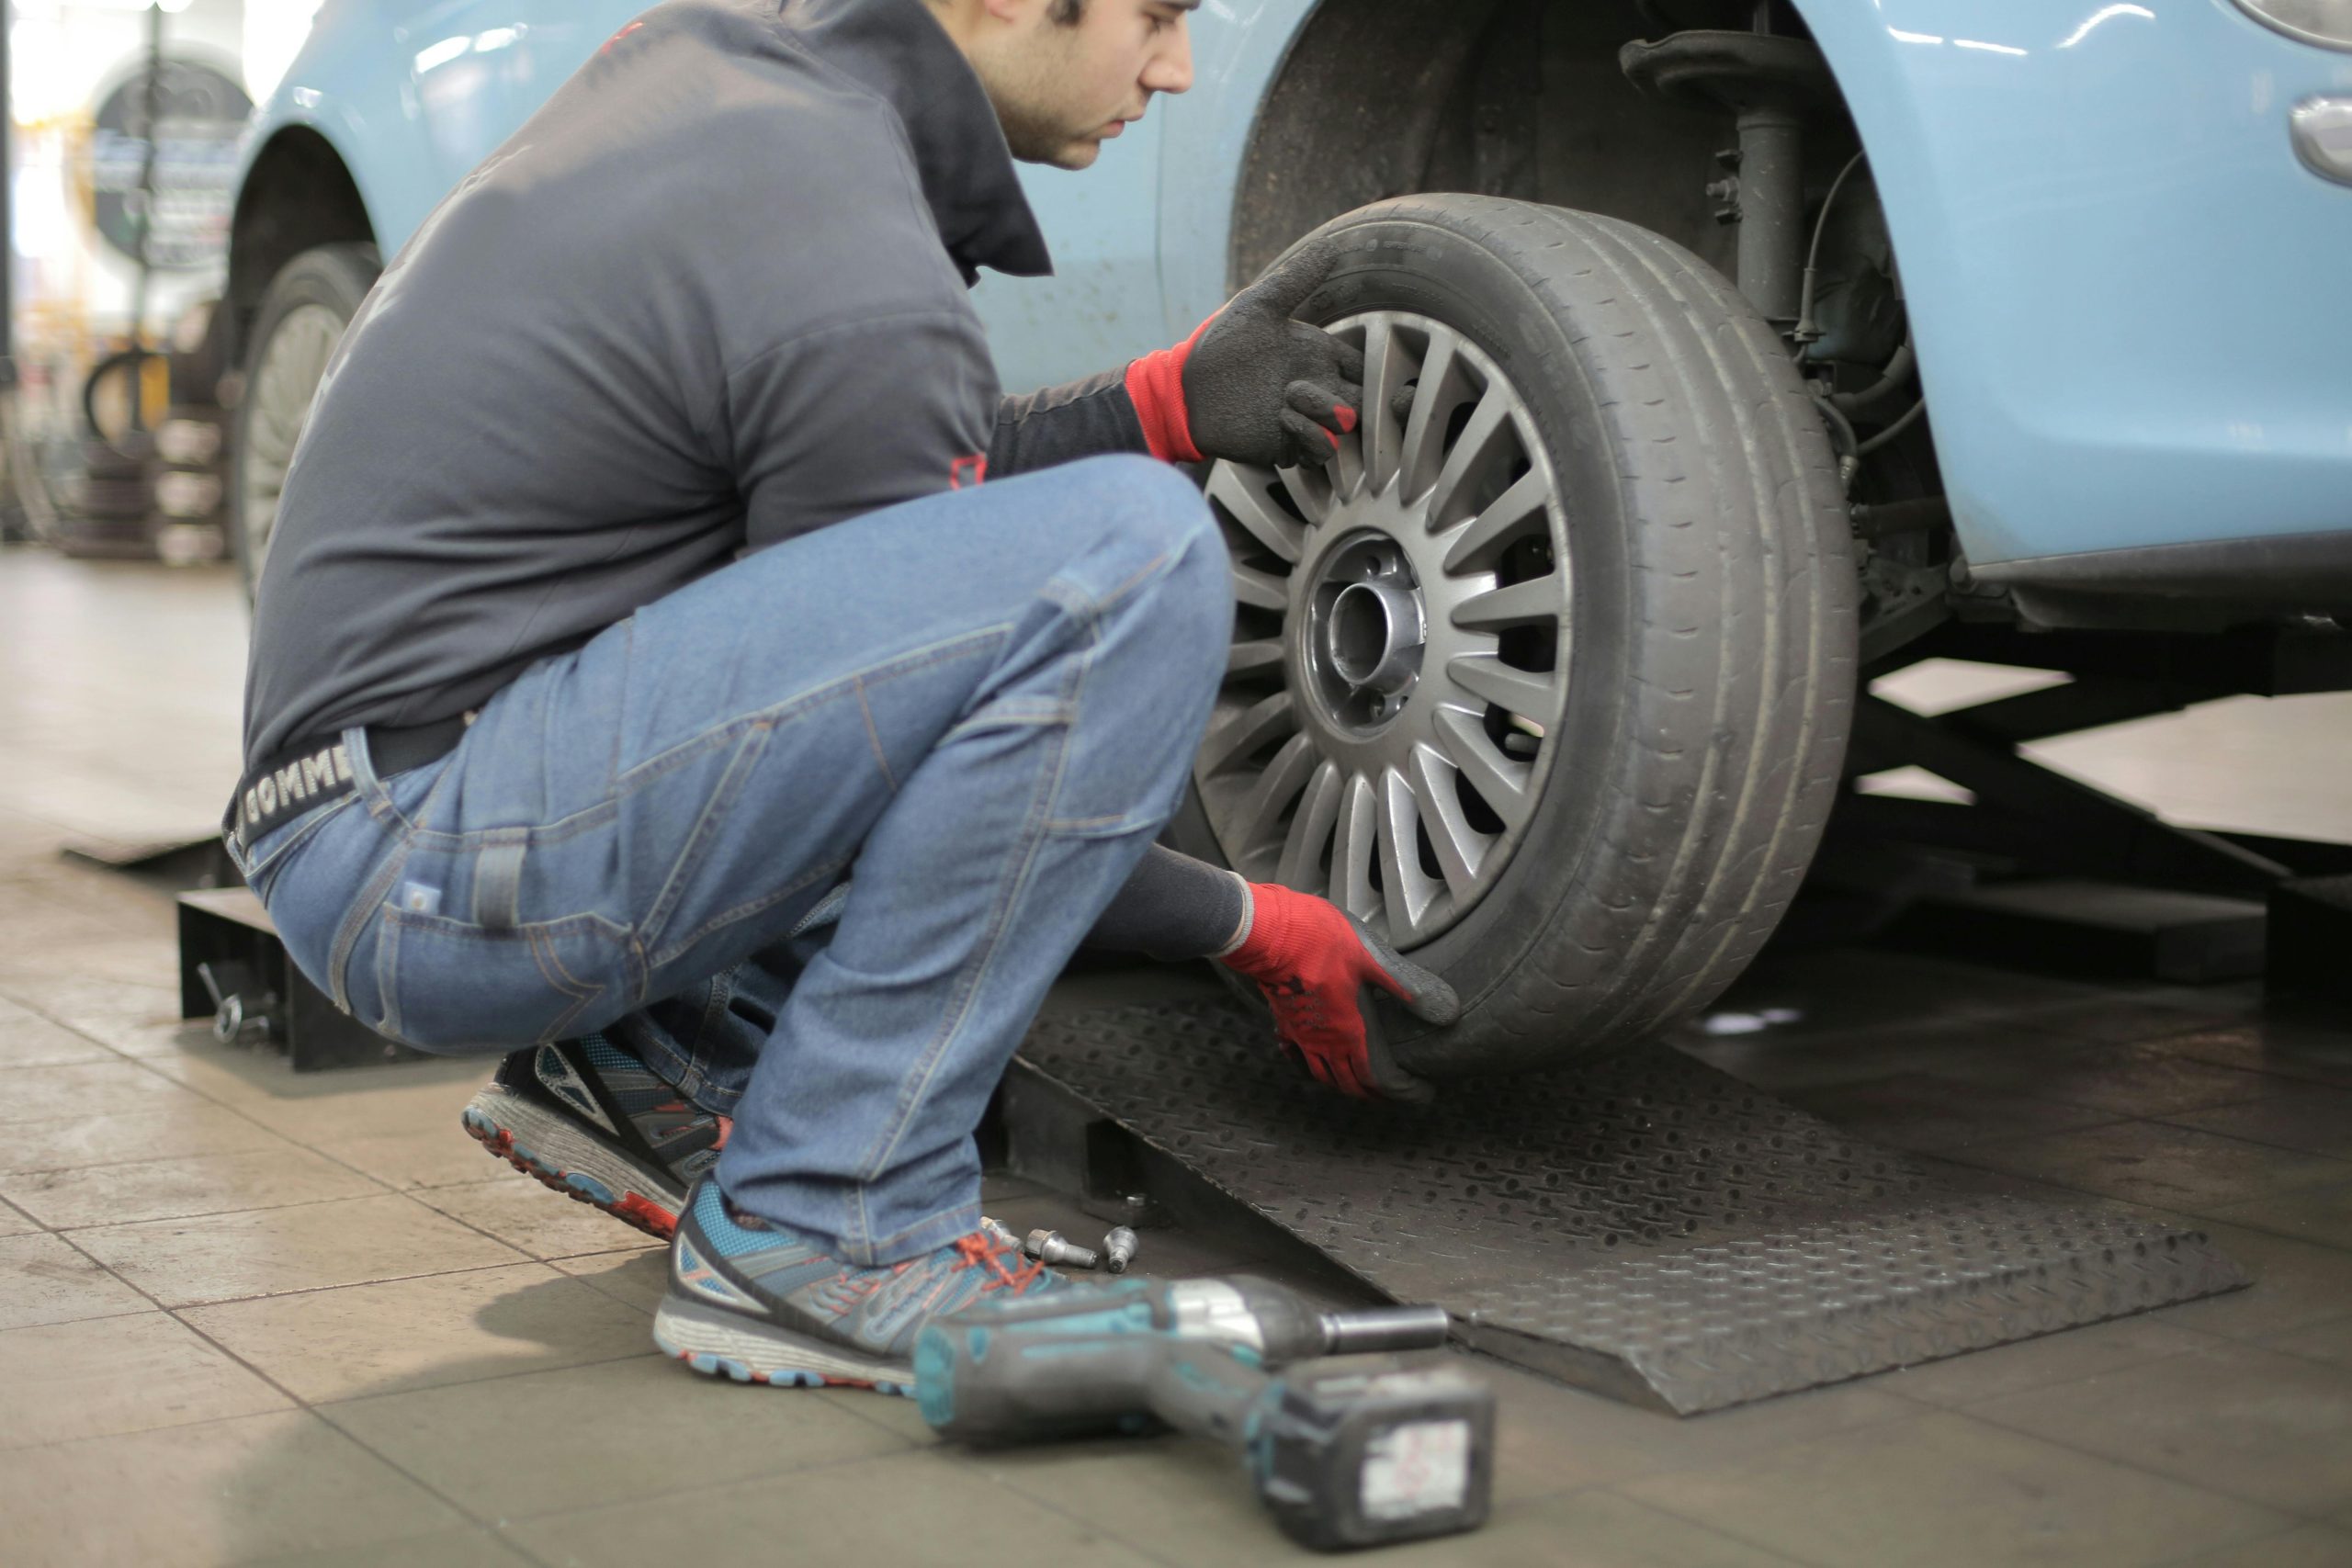
Replacing brake pads ⚙️
Brake pads are a key component of your car’s braking system and should be replaced before they wear down completely. Here’s how to replace them:
1. Remove the wheel: Loosen the lug nuts on the wheel, lift the car with a jack, and then remove the wheel.
2. Remove the caliper: The brake caliper is held by a couple of bolts. Remove these bolts and carefully slide the caliper off the brake disc. Hang it up with a wire to avoid tension on the brake hose.
3. Replace the brake pads: Remove the old brake pads and clip in the new ones. Apply anti-seize lubricant to the back of the pads to prevent squeaking.
4. Reassemble the brakes: Slide the caliper back over the new pads and the disc, and bolt it securely in place.
5. Repeat and test: Perform the same replacement on the other side. Lower the car and pump the brake pedal to make sure it feels firm, then do a test drive to ensure everything is working correctly.
Replacing the battery 🪫
A dead battery can leave you stranded (see how to diagnose a dead or dying battery here), so knowing how to change it is crucial:
1. Remove the old battery: Disconnect the negative terminal first, followed by the positive. Remove any clamps or bars holding the battery in place, then carefully lift it out.
2. Install the new battery: Place the new battery in the battery tray and secure it with the clamps or bars. Connect the positive terminal first, then the negative.
3. Test your work: Start the car to make sure the new battery is functioning correctly.
Final tips 🤝
When doing any DIY car maintenance:
- Always work in a well-ventilated, flat area.
- Dispose of old fluids and batteries responsibly by taking them to a recycling center.
- Keep a detailed log of all maintenance and repairs you perform. This can be very helpful for diagnosing future problems and for resale value.
By mastering these essential DIY repairs and maintenance tasks, you can keep your used car running smoothly and extend its life, all while saving money on service costs. Remember, regular maintenance is the key to vehicle longevity, especially for used cars.